Unleashing Your Creative Potential: The Elegoo 3D Printer
For many tabletop gamers, the struggle to find the ideal miniature can be frustrating. It often involves endless searching online or buying pre-made figures that just don’t match your vision. Fortunately, the solution lies in 3D printing. With an Elegoo 3D printer, you can design and create your own custom Dungeons & Dragons miniatures and more, all from the comfort of your home. In this post, you’ll learn how to get started with 3D printing, tips on crafting your miniatures, and insights into maximizing your new printer’s features to take your gaming experience to the next level.
Tip 1: Choosing the Right Elegoo 3D Printer
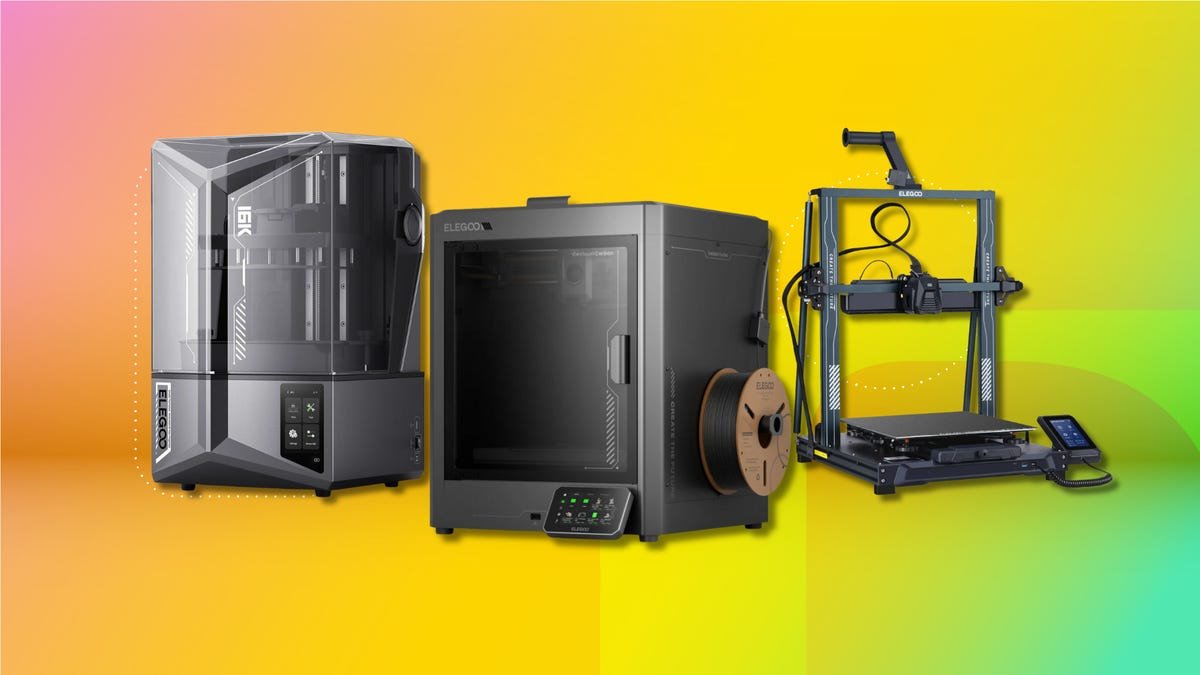
Before diving into the world of 3D printing, it’s important to select the model that best suits your needs. Elegoo offers several models, each with its unique features and capabilities.
Step-by-Step Instructions:
1. Visit the Elegoo website or trusted retailers.
2. Compare the different models, such as the Mars series for resin printing or the Neptune series for FDM printing.
3. Consider factors like print size and ease of use, and read reviews to understand the pros and cons of each model.
4. Choose the one that fits your budget and needs.
Pro Tip: Start with a model that has a supportive online community, making it easier to troubleshoot.
Common Mistake: Many new users choose a printer based solely on price, but overlooking critical features can lead to frustration later.
Hidden Tricks: Look for models with heating beds to reduce the chances of warping during prints.
Tip 2: Learning the Basics of 3D Modeling
Creating your own D&D miniatures means getting comfortable with 3D modeling software. There are several accessible programs available for beginners.
Step-by-Step Instructions:
1. Download user-friendly software like Tinkercad or Blender.
2. Explore basic tutorials available on the respective sites.
3. Start with simple shapes and gradually progress to more complex designs suitable for miniatures.
4. Use online forums for inspiration and tips on improving your modeling skills.
Pro Tip: Look for specific tutorials that cater to D&D miniature design for a focused learning experience.
Common Mistake: Don’t rush the learning process; take time to understand each feature of the software before jumping into a full design.
Hidden Tricks: Utilize pre-existing models from repositories like Thingiverse as a base for your unique creations.
Tip 3: Preparing Your Files for Printing
Understanding the file formats and how to prepare your 3D models for printing is essential for optimal results.
Step-by-Step Instructions:
1. Ensure your design is saved in a compatible format, preferably STL.
2. Use slicer software, like Cura or PrusaSlicer, to convert your STL files into G-code.
3. Adjust settings including material type, layer height, and infill percentage before slicing.
4. Save the G-code to an SD card or USB drive, ready for printing.
Pro Tip: Test print with smaller models first to fine-tune settings before attempting larger, more intricate designs.
Common Mistake: Many beginners forget to check the scale of their models, leading to size discrepancies in the final print.
Hidden Tricks: Look into advanced settings for optimizing print quality and reducing print time.
Tip 4: Setting Up Your 3D Printer
Setting up your Elegoo 3D printer correctly is crucial for achieving quality prints. This includes calibrating the printer and ensuring proper material loading.
Step-by-Step Instructions:
1. Unbox the printer and set it up on a stable surface.
2. Follow the manual for initial setup, including leveling the print bed.
3. Load the filament or resin as guided by the manufacturer’s instructions.
4. Conduct a test print to check the calibration and settings.
Pro Tip: Regular maintenance checks can prolong the life of your printer and enhance performance.
Common Mistake: Not leveling the bed properly can lead to poor adhesion and failed prints.
Hidden Tricks: Post-calibration, try printing a simple calibration cube to verify accuracy.
Tip 5: Post-Processing Your Miniatures
Once your miniatures are printed, the job isn’t finished yet. Post-processing can elevate your figures to professional levels.
Step-by-Step Instructions:
1. Carefully remove support structures if used during printing.
2. Sand or file rough edges for a smooth finish.
3. Prime the surface to prepare for paint.
4. Use acrylic paints, ensuring multiple thin coats for the best effect.
Pro Tip: Experiment with washes and dry brushing techniques to add depth and detail.
Common Mistake: Neglecting the priming step can lead to paint adhesion issues.
Hidden Tricks: Using spray paint can provide a more even coat quickly.
Tip 6: Customizing Your Miniatures
One of the best parts of 3D printing is customizing designs for your D&D game. You can create unique characters or items tailored to your campaign.
Step-by-Step Instructions:
1. Use your modeling software to manipulate existing models or create new designs.
2. Incorporate personal touches, such as representing specific features of your character.
3. Test print several variations to find what works best.
4. Keep your campaign theme in mind to maintain consistency.
Pro Tip: Consult with your fellow players to gather ideas for custom designs they would love to see.
Common Mistake: Limiting your creativity by sticking too closely to existing designs; remember to let your imagination run wild!
Hidden Tricks: Use design software to collaborate on miniatures for special occasions like birthdays or campaigns.
Tip 7: Troubleshooting Common Printing Issues
Printing can sometimes go awry, but knowing how to troubleshoot common issues will save you time and resources.
Step-by-Step Instructions:
1. Check common issues such as improper bed leveling, filament jams, or incorrect temperature settings.
2. Review the print settings to ensure they match the material being used.
3. Monitor the print as it runs and pause it if you notice issues.
4. Make necessary adjustments to resolve problems before resuming or reprinting.
Pro Tip: Keep a log of your prints, noting settings and outcomes to help identify patterns in issues.
Common Mistake: Failing to maintain the printer regularly, which can lead to more severe problems down the line.
Hidden Tricks: Join online communities or forums where you can share experiences and solutions with fellow users.
Tip 8: Exploring Online Resources and Communities
The world of 3D printing is vast, and connecting with others can greatly enhance your experience and knowledge.
Step-by-Step Instructions:
1. Join local maker spaces or online groups focusing on 3D printing and gaming.
2. Participate in discussions on platforms like Reddit, Facebook, or dedicated forums.
3. Share your designs and prints, and seek feedback from experienced users.
4. Attend webinars or workshops to learn new skills and techniques.
Pro Tip: Use resources shared by community members to advance your skills and capitalize on new trends in 3D printing.
Common Mistake: Trying to go solo; seeking advice and support can significantly improve your results.
Hidden Tricks: Many resources offer downloadable files for free, so keep an eye out for community challenges or competitions.
Tip 9: Staying Updated with 3D Printing Trends
3D printing technology is continually evolving, and staying informed will keep your skills sharp.
Step-by-Step Instructions:
1. Follow technology blogs focused on 3D printing and design.
2. Subscribe to newsletters from manufacturers and 3D design platforms.
3. Watch tutorial videos on YouTube to learn about the latest software updates or techniques.
4. Experiment with new materials as they become available.
Pro Tip: Engaging with these resources can inspire you to tackle advanced projects.
Common Mistake: Not adapting to new technology or trends can limit your creativity and results.
Hidden Tricks: Early adopters often share insights about new tools that can significantly enhance your work quality.
Tip 10: Maximizing Your Miniatures in Gameplay
Your custom miniatures deserve the spotlight in your D&D games, and knowing how to use them effectively can enhance your experience.
Step-by-Step Instructions:
1. Familiarize yourself with the features and capabilities of your miniatures.
2. Incorporate storytelling into your gameplay using your custom designs.
3. Share the backstory or special abilities of your miniatures with your gaming group.
4. Create scenarios where your miniatures are the focus to enhance the overall game atmosphere.
Pro Tip: Encourage other players to create their miniatures, fostering creativity in your gaming group.
Common Mistake: Underutilizing custom designs; integrate their stories and abilities into your game to maximize the fun!
Hidden Tricks: Use your miniatures as RPG toolkit items, providing inspiration for game mechanics or plot twists.
Summary: Key Takeaways
- Select the right Elegoo model tailored to your needs and capabilities.
- Master the basics of 3D modeling to create stunning miniatures.
- Thoroughly prepare your files for successful prints.
- Properly set up and maintain your printer to ensure longevity.
- Post-process your miniatures for a polished finish.
- Customize your designs to match your gaming narrative.
- Troubleshoot effectively to minimize disruptions.
- Engage with communities to expand knowledge and share experiences.
- Stay updated on trends to keep creativity flowing.
- Maximize the impact of your miniatures during gameplay.
By following these tips, you’ll be well on your way to mastering the art of 3D printing custom D&D miniatures and enriching your gaming experience like never before.